

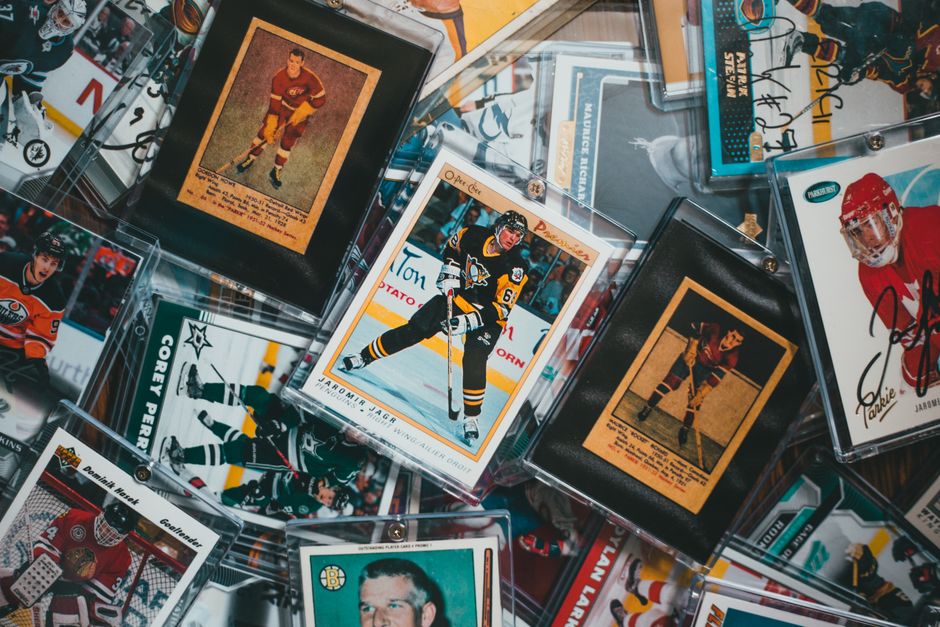
Bad Photos Are Deceptive Even When You Don’t Mean to Be
Most sellers don’t photograph cards and coins badly on purpose. They do it with a phone camera in bad light, a reflection of their ceiling fan in the slab, and hope. The result is a listing that hides condition issues, glosses over surface wear, and makes a played card look mint at thumbnail size. Buyers treat bad photos as a red flag. A single surface scratch can separate a PSA 9 from a PSA 7 – and ambiguous photos hide that scratch.
The fix isn’t expensive. A $15 LED light box, the phone already in your pocket, and a few disciplined habits produce photos that build trust instead of eroding it.
The Light Box: Your Cheapest ROI
The Rookie Collector’s eBay photography guide makes a strong case for the cheap LED light box: “For sports card photographs, I use a small LED light box I got on Amazon for less than $15. Inside of the box there are two LED light strips that provide enough light to easily photograph my sports cards.” Coin photographers on the NGC Collectors Chat Boards and CoinHelp-U forums have been recommending the same approach for years, often with even simpler diffusion methods – tissue paper taped over a desk lamp, a cut piece of milk jug plastic as a diffuser.
The light box solves two problems at once. First, it provides even, diffuse light that eliminates the harsh glare of a single overhead bulb or phone flash. Second, it creates a neutral background – white, black, or gray – that doesn’t distort the color of the item you’re photographing.
For trading cards, the background matters more than it seems. A card photographed on a busy wooden desk or patterned bedsheet pulls the buyer’s eye to the background instead of the card. A white or black backdrop isolates the card and makes surface wear, corner whitening, and print defects immediately visible. That’s what honest listings need.
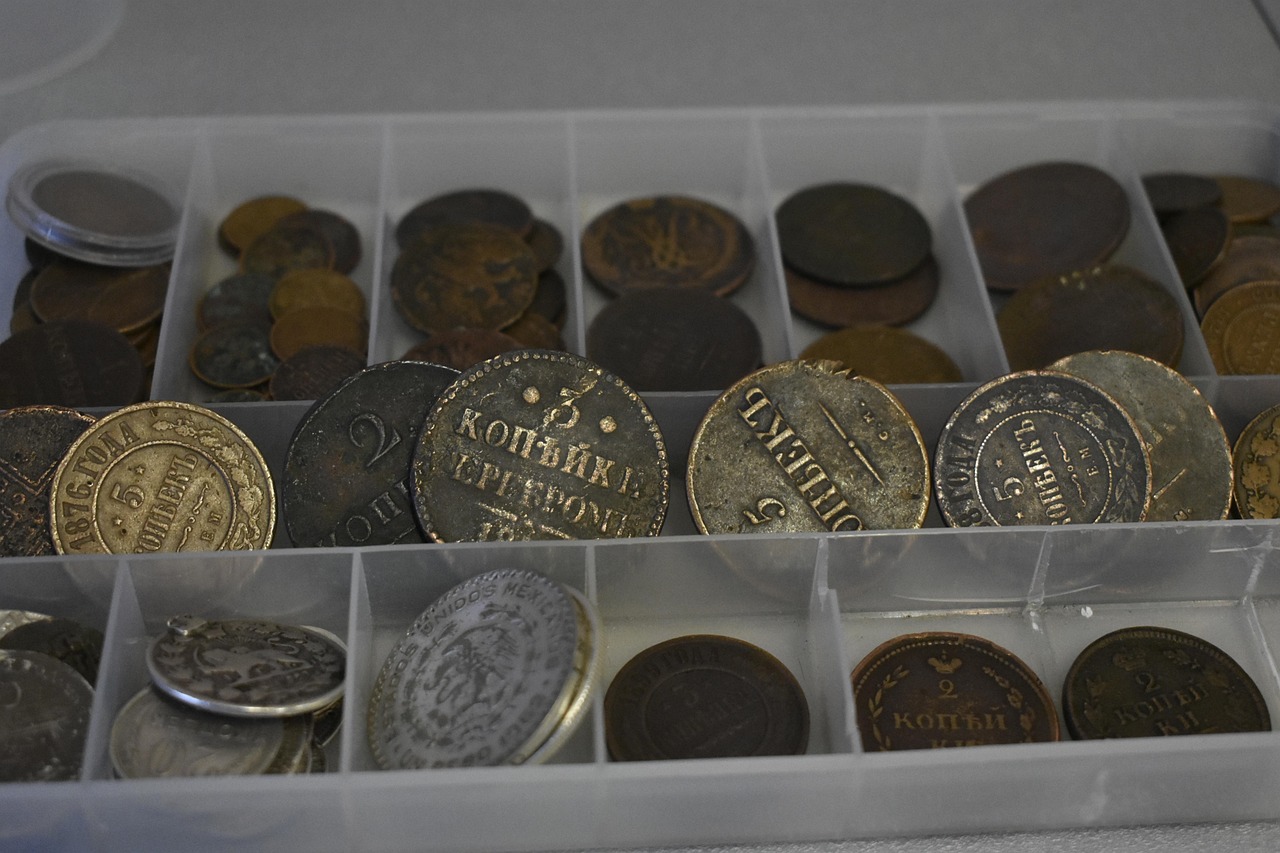
Glare on Slabs: The Problem Everyone Has and Nobody Fixes
Photographing a slabbed card or coin is harder than photographing a raw one. The plastic slab is a curved, reflective surface that catches light from every angle. Point a phone flash or LED directly at it, and you photograph the light source, not the item. Tilt the slab to avoid one reflection and you create another.
The Elite Fourum trading community’s photography thread catalogs the frustration: “occasional glare or reflection issues on soft sleeves or PSA slabs” are the most common photography complaint among sellers. The solution, widely shared across the Sports Card Investor and Reddit baseball card communities, is consistent: diffuse the light source, photograph from directly above, and remove the item from anything that adds an extra reflective layer.
Specific steps that work for slabbed cards:
- Remove the card from any additional toploader, team bag, or penny sleeve. Photograph the slab itself against a clean background.
- Position your light source or light box so the light comes from the sides at roughly 45-degree angles, not from directly above or in front.
- If your phone or camera is reflecting in the slab, tilt the slab slightly – even 5 degrees – until the reflection moves off the card surface. The goal is to show the card and its condition, not to prove you own a phone.
- Take multiple shots at different slight angles. Post the best one. Buyers don’t need to see six photos of the same angle showing the same glare spot.
For coins, the NGC forum’s coin photography guide is definitive: “A layer of tissue (or multiple layers) in front of a light source will diffuse light and eliminate glare.” For slabbed coins in particular, the Coin Photography Studio recommends diffusing lights by bouncing them off white surfaces or using softboxes. The translucent plastic cup method – placing a frosted plastic cup over the coin as a makeshift diffuser – shows up across multiple coin photography forums and works surprisingly well for under $2.
Scanner vs. Camera: The Honest Seller’s Choice
For raw (ungraded) trading cards, a flatbed scanner consistently produces better results than a camera for one reason: no glare, no angle distortion, no variation in lighting between shots. A scanner at 600 DPI captures every edge, corner, and surface detail under uniform light. It also captures flaws that a angled phone photo might miss – and that’s the point.
Sports Card Investor’s guide recommends placing the card on a flat, neutral surface and avoiding “busy backgrounds and direct light of any kind.” A scanner does this automatically. The file sizes are larger, but an honest listing needs detail, not compression artifacts.
Coins are more challenging on a flatbed scanner. The scanner glass creates a slight gap between the coin surface and the imaging sensor, which softens detail on coins with deep relief. A camera with macro capability, or even a phone camera with a clip-on macro lens, typically captures more of the coin’s luster, strike quality, and contact marks. The Coin Value Tracker guide recommends LED ring lights or softbox lamps to “minimize glare and enhance strike quality without harsh shadows.”

What Every Card and Coin Photo Set Must Include
Buyers on eBay, TCGplayer, and auction platforms have specific expectations for photo sets. Missing one of these angles doesn’t make you a scammer, but it does make buyers wonder what you’re not showing:
For trading cards: Front full-frame, back full-frame, and close-ups of all four corners. If the card is holo or foil, one angled shot that shows the foil pattern and any surface scratching. If the card is graded, one photo of the slab front showing the label and cert number, and one of the slab back. Penny sleeves and toploaders should be removed for the primary photos – they add reflections and obscure edge wear.
For coins: Full-frame obverse, full-frame reverse, and one edge or rim shot. For higher-value coins, include an angled shot under a single light source that reveals luster and any hairlines or cleaning marks that aren’t visible at straight-on angles. NGC-certified slabbed coins should include a photo of the certification label. If the coin has visible toning, the photo should represent the color accurately – adjusting white balance too aggressively to “warm up” a coin misrepresents what the buyer will see when it arrives.
CoinWeek’s behind-the-scenes look at the ANS eBay Store demonstrates that even institutional sellers follow these same basic principles: consistent lighting, neutral backgrounds, and front-and-back coverage for every lot. The difference between a professional coin listing and a bad one isn’t the equipment. It’s whether the seller bothered to take the coin out of the plastic flip and photograph both sides.
The Mistakes That Make Buyers Scroll Past
Flash photos are the number one trust killer in online collectibles listings. A direct flash blows out surface detail, creates a reflection hot spot, and makes a moderately worn card look pristine. Buyers have learned that flash photos in a listing mean the seller is either careless or hiding something. Neither impression helps you sell.
Second on the list: one photo. One photo of a card or coin communicates, intentionally or not, that there’s something on the other side you don’t want shown. Take at least four. The eBay Community forums and Reddit’s r/baseballcards are full of threads where buyers ask “is this seller legit?” and the top reply is always “only one photo, pass.”
Third: using stock photos or images pulled from the internet. A Pokemon card photo downloaded from TCGplayer doesn’t show the card you’re selling. It shows a card that looks like yours. In a market where centering, surface condition, and corner sharpness determine value, a generic image is worse than no image – it’s misleading.
Related GrandCollector guides: Understanding grading standards helps you photograph collectibles honestly — see our guide to collectible grading. For coin-specific photography tips, read about the rarest Australian coins and what makes them valuable.
Notes
[1] Rookie Collector, “How To Take Better Product Photos for eBay”, https://www.rookiecollector.com/how-to-take-better-sports-card-photos/
[2] Sports Card Investor, “How to Take High-Quality Photos for eBay Sports Card Listings”, https://www.sportscardinvestor.com/how-to-take-high-quality-photos-for-ebay-sports-card-listings/
[3] NGC Coin Collectors Chat Boards, “Lighting Techniques for Coin Photography”, https://boards.ngccoin.com/topic/422129-lighting-techniques-for-coin-photography-updated/
[4] CoinHelp-U Community, “Coin Photography Set Up – Cheap and Easy”, http://coinauctionshelp.com/forum/viewtopic.php?t=23514
[5] Coin Photography Studio, “Coin Photography Tips: How to Photograph Coins Like a Pro”, https://www.coinphotographystudio.com/coin-blog/how-to-take-better-coin-photographs
[6] Coin Value Tracker, “Essential Coin Photography Tips for Showcasing Your Collection”, https://www.coinvaluetracker.com/blog/2026-04-17-essential-coin-photography-tips-for-showcasing-your-collecti
[7] CoinWeek, “Coin Photography: ANS eBay Store Behind-the-Scenes”, https://coinweek.com/coin-photography-ans-ebay-store-behind-the-scenes/