

Bad photos cost sellers money. A diecast car listed with one blurry phone shot under a yellow ceiling light looks worse than the same car photographed with care, and buyers price accordingly. You do not need a lightbox, a DSLR, or any special equipment. Here is what works.
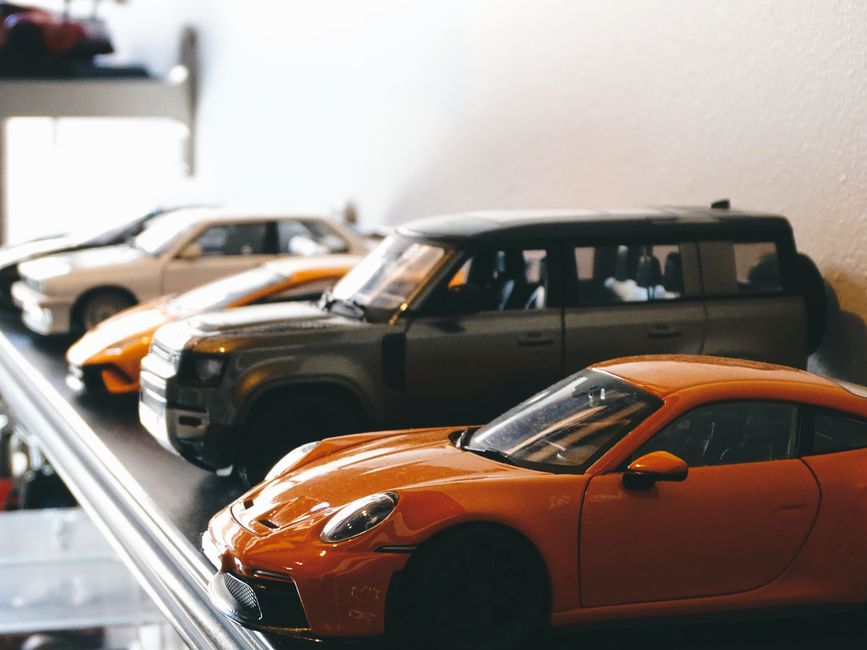
Key takeaways
- Why Photographs Make or Break a Diecast Listing
- What Beginners Usually Get Wrong
- Lighting That Works With What You Already Have
Why Photographs Make or Break a Diecast Listing
When a buyer cannot hold the car, your photos are the only inspection they get. Every chip, scratch, and tampo smudge they discover after opening the package becomes a dispute. Every detail your photos hide becomes a reason they scroll past your listing to one with clearer images.
Honest photos protect both sides. They set buyer expectations accurately, reduce returns, and build seller reputation. A listing with clear, well-lit photos from multiple angles signals you are not hiding anything, and that signal alone often earns a higher final price than prettier but less complete images.
What Beginners Usually Get Wrong
The most common mistake is using a flash. Direct flash bounces off diecast paint and chrome, creating harsh white hotspots that obliterate surface detail. Turn the flash off.
Another mistake is photographing cars on a busy background. A car on a cluttered desk or patterned bedsheet competes for attention. The buyer should be looking at the casting, not your laundry.
The third common error is showing too few angles. A single front-three-quarter shot hides everything: the back, the roof, the base stamps, the wheel wear, and the card condition. If you post one photo, buyers assume the worst.
Lighting That Works With What You Already Have
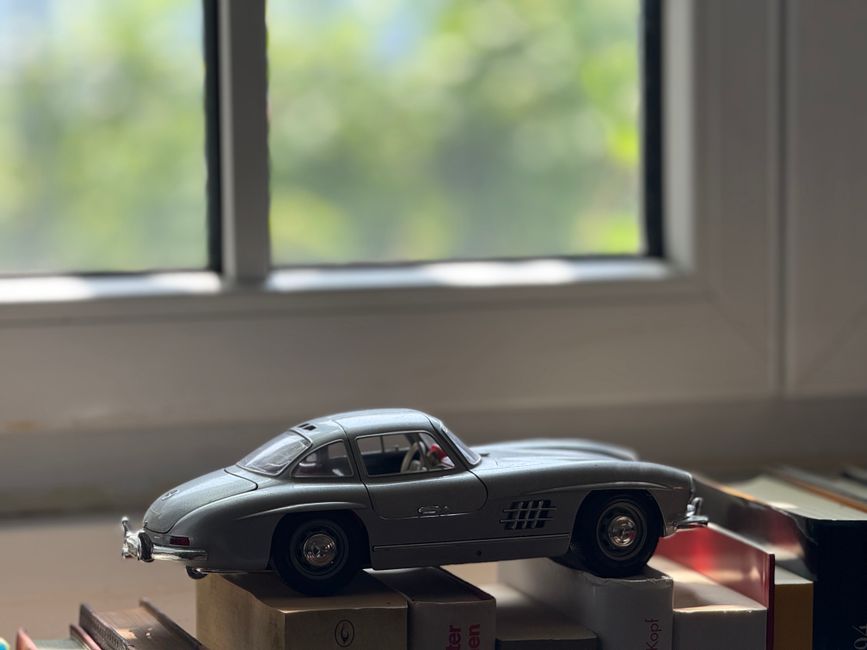
Natural daylight is the best light source most sellers have free access to. Position the car near a window on an overcast day or in indirect sunlight. Direct sun creates harsh shadows and can warp cards. A cloudy day gives you soft, even light that reveals paint condition without glare.
For night or dark-room photography, use two desk lamps with daylight LED bulbs at 45-degree angles on each side. This cross-lighting fills shadows and reduces reflections. A piece of white paper opposite each lamp bounces light back into shadow areas. For chrome and Spectraflame paint, hold a sheet of white paper above the car to diffuse the light further, turning a harsh reflection into a soft highlight that shows the surface underneath.
Background and Setup: Keep It Simple
A plain white or light grey background works for almost every diecast car. A sheet of printer paper curved against a book creates a seamless background in seconds. For darker cars, medium grey provides better contrast. Avoid black, it hides shadow detail and underbody condition.
Stabilise your phone or camera. A tripod is ideal, but a stack of books and the timer work as well. Camera shake blurs fine print on base stamps and tampo edges. Set the timer to two seconds, press the shutter, and let go before it fires.
The Minimum Photo Set for Any Diecast Listing
Every listing should include at least these eight shots. More is better, but these eight give a buyer enough information to make a fair offer.
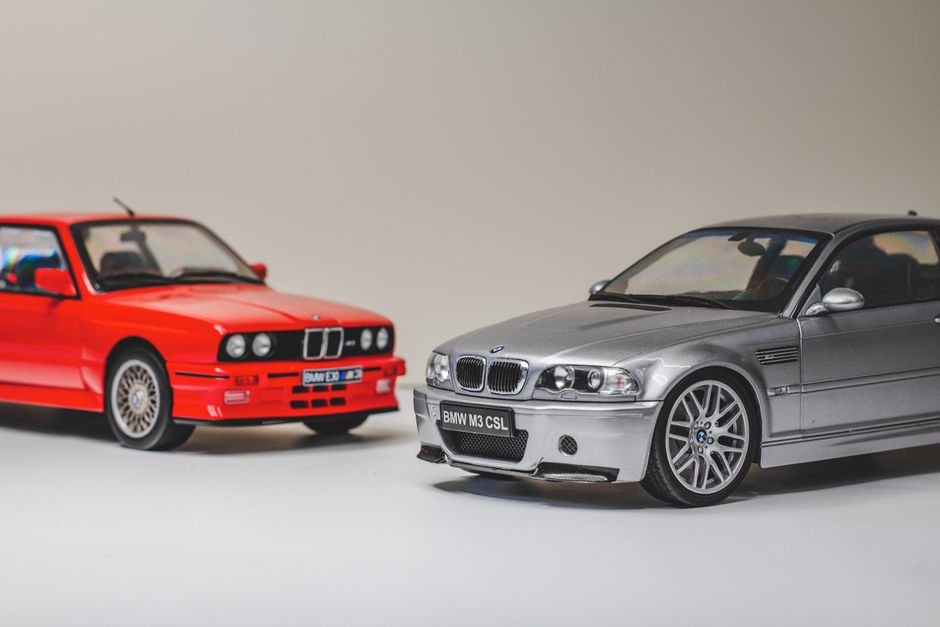
1. Front three-quarter view. The standard hero shot. Shows the front grille, headlights, hood, and driver-side profile in one frame. Take this at the car’s eye level, not looking down at it from above.
2. Rear three-quarter view. Same angle from the back. Shows the taillights, rear bumper, and rear tampos.
3. Direct side profile, both sides. Two separate shots, one per side. These show wheel condition, axle straightness, and side tampos. A car with bent axles will sit unevenly in the side profile shot, a detail buyers look for.
4. Top-down view. Shows roof, hood, and trunk condition. Roof paint chips are common on played-with cars and nearly impossible to see in three-quarter angles.
5. Base close-up. Flip the car over. This shows the copyright year, manufacturer markings, country stamp, rivet condition, and axle rust. For Hot Wheels, the base code stamp is here and collectors want to see it.
6. Wheel and tyre close-up. Show wheel chrome, tyre wear, and whether all four wheels match. For rubber-tyred premium cars, show that tyres are not cracked or melted.
7. Damage close-ups. If the car has paint chips, tampo wear, bent axles, or card damage, photograph each flaw individually. Wide shots will not show these clearly, and buyers who discover unphotographed flaws will open a return.
8. For carded cars: card front, card back, blister close-ups. Photograph the card flat and straight on. Photograph all four corners individually for high-grade claims. Show the blister seams from the side to prove the seal is intact.
Phone Camera Settings That Actually Help
You do not need a fancy camera. Most phones from the last five years produce listing-quality diecast photos with a few setting changes.
Turn off HDR or auto-enhancement. These over-process metallic surfaces, making paint look artificial. A buyer wants the real paint, not a computational approximation.
Use the main rear camera for general shots, it has the best sensor and most accurate colours. Switch to the telephoto lens for close-ups like base stamps and wheel condition, the telephoto lets you get close without the distortion of a wide-angle lens held an inch away.
Set exposure manually if your camera app allows it. Tap the screen on the car, then drag the exposure slider down slightly. Most phones overexpose by default, blowing out chrome and light-coloured paint. Underexposing slightly preserves that detail.
Photographing Packaging and Cards
Carded diecast photography has its own challenges. The blister plastic reflects light and can create glare over the car inside. Angle the lights so the reflection moves off the car onto an empty part of the blister. If the blister is scratched or yellowed, photograph it in direct light to show the condition honestly, then add a second photo with adjusted lighting showing the car more clearly.
Photograph card backs flat with even lighting. Creases and corner wear invisible in a front shot become obvious on the back. If the card has a price sticker or residue, photograph that separately, do not remove stickers for the photo.
Common Pitfalls That Make Honest Cars Look Suspicious
Cropping too tightly makes a listing look like you are hiding something. Leave a margin around the car so buyers can see the card edges and the full casting. A photo filling the entire frame to the millimetre reads as a screenshot.
Using filters or presets changes what the car actually looks like. When the buyer opens the package and the paint is a different shade than the photo, you have a problem. Keep images unedited except for cropping and modest brightness adjustment.
Every car has a best angle. An honest listing shows the worst angle too. If the passenger-side tampo is smeared and the driver-side is clean, photograph both and note the difference. Buyers pay more for honesty than for surprises.
Final Practical Advice
Take the photos, then review them on a computer screen before listing. Phone screens are small and forgiving. What looks sharp on a six-inch display often reveals blur or hidden reflections at full size. If a detail is not clearly visible on a laptop screen, it is not visible to your buyer.
Store your listing photos after the sale closes. If a buyer claims the car arrived with damage “not in the photos,” your timestamped originals are your only defence.
Good diecast photography is not about making a car look better. It is about showing the car so clearly that the buyer knows exactly what they are getting. Do that consistently, and your listings will close faster, at better prices, with fewer returns, than the seller still using one flash photo on a kitchen counter.
For similar guidance on other collectibles, see our guide to photographing coins and cards for honest online listings. If you plan to sell, also read how to sell diecast cars individually vs as a collection.
Notes
[1] Diecast photography principles draw from general product and jewellery photography techniques, where reflective curved surfaces under diffused lighting are standard. The cross-lighting method is the same approach jewellers use for polished metal.
[2] The eight-shot minimum reflects common expectations in diecast collector communities. Listings with fewer photos consistently sell for less than comparable listings with complete photo sets, observable across eBay sold listings.
[3] Phone camera exposure and HDR recommendations are based on widely documented smartphone photography guidance. Most camera apps allow exposure adjustment by tapping and sliding, and HDR can be toggled off per shot.