

- Why Online Buyers Skip Condition Checks, and What It Costs
- The Four-Point Condition Framework That Covers Every Major Flaw
- Checklist Item 1: Photo Quality and Coverage
- Checklist Item 2: Centring
- Checklist Item 3: Corners and Edges
- Checklist Item 4: Surface Condition
- Checklist Item 5: Authenticity Red Flags
- Putting the Checklist Into Practice
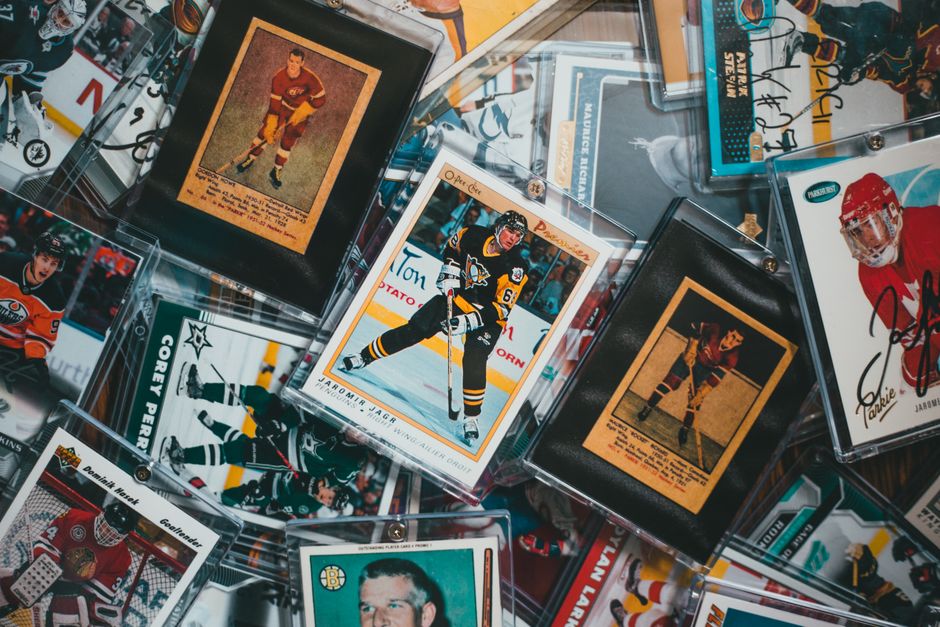
Buying trading cards online without a condition checklist is the fastest way to overpay. Sellers use different standards, photos hide damage, and listing descriptions skip over the flaws that matter most. A consistent checklist turns every listing into a standardised review: you compare the same four factors every time, and you stop buying cards that look good in soft light but arrive with rounded corners and surface scratches. Here is how to build that checklist and use it before you commit to any online purchase.
Key takeaways
- Why Online Buyers Skip Condition Checks, and What It Costs
- The Four-Point Condition Framework That Covers Every Major Flaw
- Checklist Item 1: Photo Quality and Coverage
Why Online Buyers Skip Condition Checks, and What It Costs
Most buyers look at the first photo and decide. They see a centred card in a top loader and assume the condition matches the listing’s grade estimate. But cameras flatten surface wear, generous cropping hides edge whitening, and angled lighting washes out print lines. The result: you pay near-mint money for a card that arrives in lightly played condition. Standardising your own checklist removes the emotional snap decision. You treat every listing the same way, no matter how good the front photo looks.
The Four-Point Condition Framework That Covers Every Major Flaw
Most grading companies assess four factors: centring, corners, edges, and surface. Your checklist should cover the same ground, but it should also include something grading companies do not measure: whether the listing photos are good enough to assess any of those factors at all. If the seller shows one angled shot taken under warm light, every other question on your checklist is a guess. Make “photo quality” your first checkbox, then move through the four standard categories.
Checklist Item 1: Photo Quality and Coverage
Start by asking whether the listing gives you enough to work with. You need front and back photos at a minimum, taken under natural or white light, with the card outside any sleeve or top loader for at least one shot. If the seller only shows the front, or the card is photographed inside a scratched penny sleeve, you are buying blind. Mark the listing as “insufficient photos” and move on. No checklist can compensate for missing evidence.
When photos are adequate, check whether the seller provides close-ups of the corners and edges. Some experienced sellers include a short video or a rotating GIF that shows surface gloss under moving light, which is gold for spotting scratches and print lines. If the listing has those, move the assessment confidence up a notch. If it does not, proceed with the checklist but add a mental discount: you are assuming more risk.

Checklist Item 2: Centring
Centring is the simplest factor to assess from photos, but buyers often skip it because they do not know what the borders should look like. For modern cards, compare the left and right border widths on the front image, then repeat for top and bottom. If the proportions are visibly uneven, the card will not grade gem mint, regardless of corner sharpness. Some sets have notoriously bad centring (vintage paper stock, certain Japanese Pokémon promos), and those cards trade at a discount even raw.
On the back, centring is less important for most grading services, but extreme miscuts that cut off text or show part of another card bottom the value. Flag any card where the back cut intrudes into the design area. For pre-1980s issues, expect some centring variance and adjust your expectations accordingly; factory quality control was looser then.
Checklist Item 3: Corners and Edges
Corner wear is the dealbreaker most often hidden by listing photos. Look at the four corners individually and ask: are the points sharp, or do they look rounded under magnification? On white-bordered cards, edge chipping shows as tiny white spots along the border line. On dark-bordered or full-bleed cards, edge wear is harder to see; you may need to zoom in and trace the border with your eyes.
Pay special attention to the back corners, which sellers photograph less often. A card with four sharp front corners and one fuzzy back corner is still a damaged card, and it will sell at a discount if you ever want to trade up. When the listing shows only one corner in a close-up, assume the other three are not as clean. Sellers show their best angle first.
Checklist Item 4: Surface Condition
Surface assessment from photos is the hardest part of the checklist, and it is where most buyer mistakes happen. Print lines, roller marks, light scratches, and indentations can all disappear under diffuse lighting. To catch them, look for photos where the light source hits the card at an angle, creating a visible reflection across the surface. In that reflection, breaks, lines, and tiny dents become visible.
For holofoil and reverse-holo cards, surface scratching is a known issue. These cards show fine scratches under any direct light, and grading companies penalise surface wear heavily. If the listing has no angled-light shot and the card is foil, flag it as higher risk. Some buyers add a specific checkbox just for holofoil surface checks, because the failure rate on those listings is so high.
Checklist Item 5: Authenticity Red Flags
Condition does not matter if the card is fake. Add a short authenticity section to your checklist: does the card stock look correct for the set and era? Is the holographic pattern consistent with known authentic copies? For modern sports and Pokémon cards, compare the back colour saturation and the font weight of the copyright text to a verified image from the same set. For vintage, check whether the card stock thickness and colour match known examples. If any of these checks fails, stop. A fake in perfect condition is still worthless.
Putting the Checklist Into Practice
Once you have your categories defined, use the same list for every purchase. A simple format works best:
- ☐ Photos: front, back, outside sleeve, natural light
- ☐ Centring: front borders checked, back miscut flagged
- ☐ Corners: four front, four back, zoomed individually
- ☐ Edges: traced full perimeter, chipping noted
- ☐ Surface: angled-light shot present, foil scratches inspected
- ☐ Authenticity: stock, holo, font, colour compared
Print it or keep it open on a second screen. Go through it for every listing, not just the expensive ones. The goal is to build muscle memory so you stop talking yourself into cards that do not meet your standard. After a few weeks of consistent use, you will notice that you pass on more listings, and that is the point. Better to pass on ten borderline cards than to overpay for one that arrives looking nothing like the photo.
Notes
[1] The four-factor grading framework (centring, corners, edges, surface) is the industry standard used by PSA, BGS, CGC, and SGC for trading card condition assessment.
[2] Photo requirements for online card purchases are drawn from common eBay and TCGplayer seller best practices guides.
[3] Holofoil surface scratching is a widely recognised issue documented by both PSA and CGC in their grading standards for Pokémon and sports card submissions.